-
To remove a drive letter on Windows 11, open
Settings
>
System
>
Storage
>
Advanced storage settings
>
Disks & volumes
, open the storage properties, click
“Change Drive Letter,”
and choose the
“None”
option to remove the letter. - You can also use the Disk Management app or complete this configuration through Command Prompt and PowerShell.
On
Windows 11
, you can remove a drive letter in at least four ways, and in this guide, you will learn how. The operating system automatically assigns a drive letter to every device storage connected to the computer, including internal drives, USB drives, DVD or Blu-ray devices, and
mapped network drives
to register the logical volume and present them to you on File Explorer or any other app.
However, sometimes, you may need to remove a drive letter for various reasons. For example, you may want to keep the drive hidden for security reasons, or the system mistakenly assigns letters to the hidden recovery or EFI partitions. You may also need to
change the drive letter
to resolve conflicts or
duplicates
.
Whatever the reason, on Windows 11, you can remove a drive letter in at least four ways using the Settings app, Disk Management, Command Prompt, and PowerShell.
In this
guide
, I will teach you how to remove a drive letter on Windows 11.
-
Remove drive letter from Settings app
-
Remove drive letter from Disk Management
-
Remove drive letter from Command Prompt
-
Remove drive letter from PowerShell
Remove drive letter from Settings app
To remove the drive letter on Windows 11, use these steps:
Open
Settings
on Windows 11.
Click on
System
.
Click the
Storage
page.
Click the
“Advanced storage settings”
option under the “Storage management” section.
Click the
Disks & volumes
setting.

Select the drive with the volume with the letter to remove.
Select the volume and click the
Properties
button.

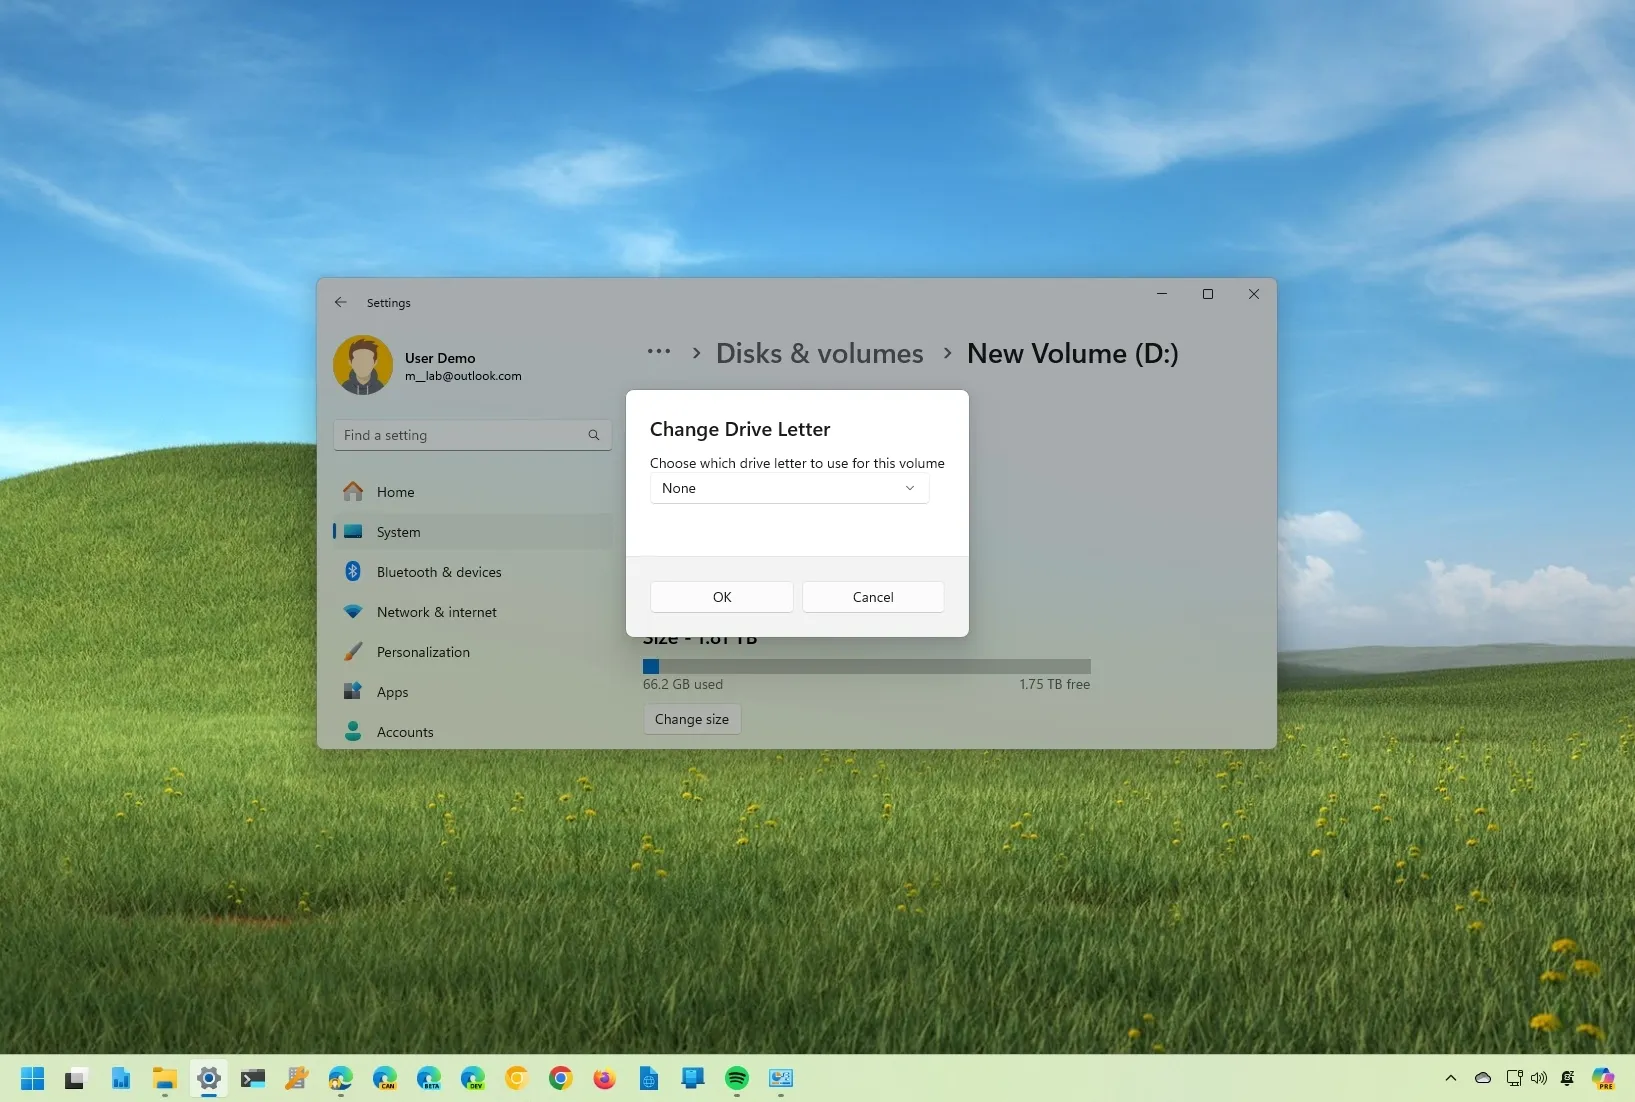
Click the
“Change drive letter”
button.

Select the
None
option to remove the drive letter on Windows 11.

Click the
OK
button.
Once you complete the steps, the system will remove the drive letter on Windows 11.
Remove drive letter from Disk Management
To remove the drive letter from Disk Management, use these steps:
Open
Start
.
Search for
Create and format disk partitions
and click the top result to open the
Disk Management
tool.
Right-click the volume and select the
“Change Drive Letter and Paths”
option.

Select the drive letter and click the
Remove
button.

Click the
OK
button.
After completing the steps, the drive will no longer appear in File Explorer.
Remove drive letter from Command Prompt
To add a new drive letter from Command Prompt, use these steps:
Open
Start
.
Search for
Command Prompt
, right-click the result, and select the
Run as administrator
option.
Type the following command to launch diskpart and press
Enter
:
Type the following command to list the volumes and press
Enter
:
Type the following command to select the volume (drive) to remove the letter and press
Enter
:
In the command, change
“4”
for the number corresponding to the storage to remove the letter.
Type the following command to remove the drive letter on Windows 11 and press
Enter
:
In the command, change
“E”
for the letter to remove.

Once you complete the steps, the diskpart tool will letter for the volume.
Remove drive letter from PowerShell
To remove a drive letter from PowerShell, use these steps:
Open
Start
.
Search for
PowerShell
, right-click the result, and select the
Run as administrator
option.
Type the following command to identify the hard drive and press
Enter
:
Type the following command to identify the partition to remove the drive letter and press
Enter
:
In the command, change
“4”
with the disk number to remove the letter.
Type the following command to remove the drive letter and press
Enter
:

In the command, change
“4”
with the disk number and
“2”
for the partition holding the drive letter. Also, change
“E”
for the drive letter to remove.
After completing the steps, PowerShell will remove the letter for the drive, making it inaccessible.
Update May 15, 2024:
This guide has been updated to ensure accuracy and reflect changes to the process.