-
To create an image of a USB flash drive, download and open the
USB Image Tool,
connect the removable storage, click on
Backup,
and save the image as a
.img
file. - You can also use the tool to restore image backup to the USB flash drive.
In this tutorial, I’ll walk you through the process of creating an image backup of any USB flash drive using the USB Image Tool on Windows 11 (or 10).
Even while you can always move files from a removable drive to your computer, depending on how the storage is set up, there are situations when you might require an identical copy. In these situations, the USB Image Tool might be useful.
An interface to backup and restore the flash drive’s partition and contents using the.img file format is provided by USB Image Tool, a legacy program that runs on Windows 11 and previous iterations, including Windows 10.
I’ll walk you how to backup and restore a flash drive’s data in Windows 11 in this post. These guidelines are also compatible with Windows 10.
-
Create USB image backup on Windows
-
Restore USB image backup on Windows
Create USB image backup on Windows
Use these procedures to make a USB flash drive image backup:
The USB Image Tool download page will open.
Save the file to your PC after selecting the download option for the most recent version.
Use File Explorer to open and extract the Zip file.
Locate the folder where the extracted files are located.
To open the USB Image Tool.exe file, right-click on it and choose the Open option.
Quick tip: Click “run anyway” if you receive a warning.
Attach the computer to the USB flash drive.
If the “Rescan” button is present, click it.
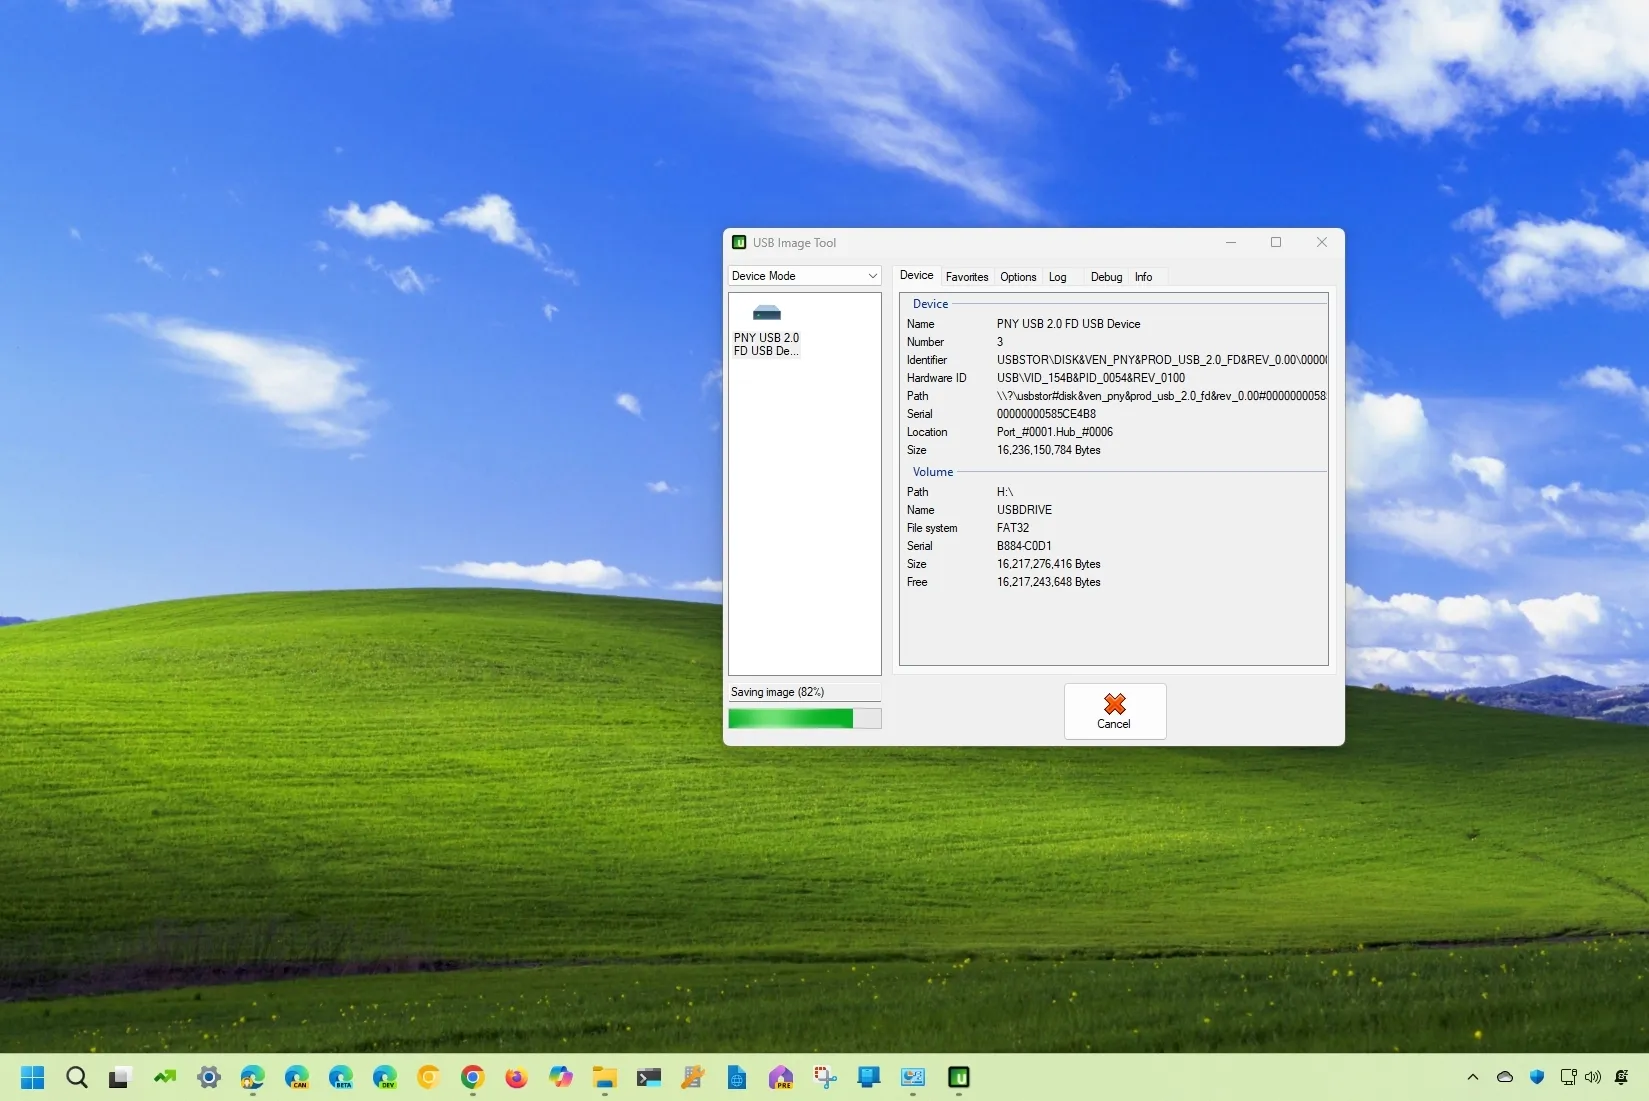
From the drop-down menu in the upper left corner, select Device Mode.
From the left pane, choose the USB flash drive.
On the Backup button, click it.

Verify the.imgbackup file’s name.
Press the “Save” button.
The utility will take a picture of the entire drive and store it as a.img file after you finish the instructions. Due to the slow technology of these drives, this process may take a long time.
When it comes to working, the distinction between an image backup and a file backup is that the former creates a complete duplicate of the entire storage, including data, while the latter creates a copy of the files.
Restore USB image backup on Windows
Follow these instructions to restore a backup image to a USB flash drive:
OpenFile Explorer.
Locate the folder where the extracted files are located.
To open the USB Image Tool.exe file, right-click on it and choose the Open option.
Attach the computer to the USB flash drive.
If the “Rescan” button is present, click it.
From the drop-down menu in the upper left corner, select Device Mode.
On the Restore button, click.

From the saved location, choose the backup image.
Press the “Open” button.
Following your completion of the instructions, the utility will erase everything that is currently on the drive and restore the backup. When you generate the backup, the USB flash drive will be returned to its initial state after the procedure is finished.
It’s crucial to remember that this is not a program made to backup your whole computer. You should use cloud services like OneDrive and another tool, such as the full backup program that comes with Windows 11 (and 10) if you want to safeguard your setup and data.
Update August 29, 2024: To guarantee accuracy and take into account modifications to the procedure, this guide has been revised.