-
To enable virtualization on Windows 11, open
Settings
>
System
>
Recovery
, click on
Restart now,
then open
Troubleshoot
>
Advanced options
, click on
UEFI Firmware Settings,
and click on
Restart.
In the UEFI settings, turn on virtualization. - Another way to enable virtualization is by booting directly into the UEFI/BIOS and turning on virtualization from the firmware settings.
There are at least two ways to enable virtualization in the UEFI (BIOS) in Windows 11, and I’ll walk you through both in this post. The majority of processors, including those from AMD and Intel, allow virtualization. Through capabilities like Windows Subsystem for Android (WSA), Windows Subsystem for Linux (WSL), or a conventional virtual machine, the technology enables your computer to run other operating systems in addition to Windows 11, including Android, Linux distributions, or another version of Windows.
The Unified Extensible Firmware Interface (UEFI) on laptops and desktop computers typically has the virtualization function activated by default, but occasionally you might need to manually enable it. If so, there are at least two ways to enable virtualization in Windows 11, including using the Settings app or booting straight to the firmware.
In this tutorial, I’ll walk you through the simple process of turning on virtualization in Windows 11’s motherboard firmware.
-
Enable virtualization inside UEFI (BIOS) from WinRE
-
Enable virtualization inside UEFI (BIOS) from boot
Enable virtualization inside UEFI (BIOS) from WinRE
Use the following procedures to enable virtualization on AMD or Intel UEFI (BIOS) using the Windows Recovery Environment (WinRE):
OpenSettings on Windows 11.
Select “System.”
Select “Recovery.”
To access the Advanced startup setting in the Recovery options area, click the Restart now button.

To troubleshoot, click on it.
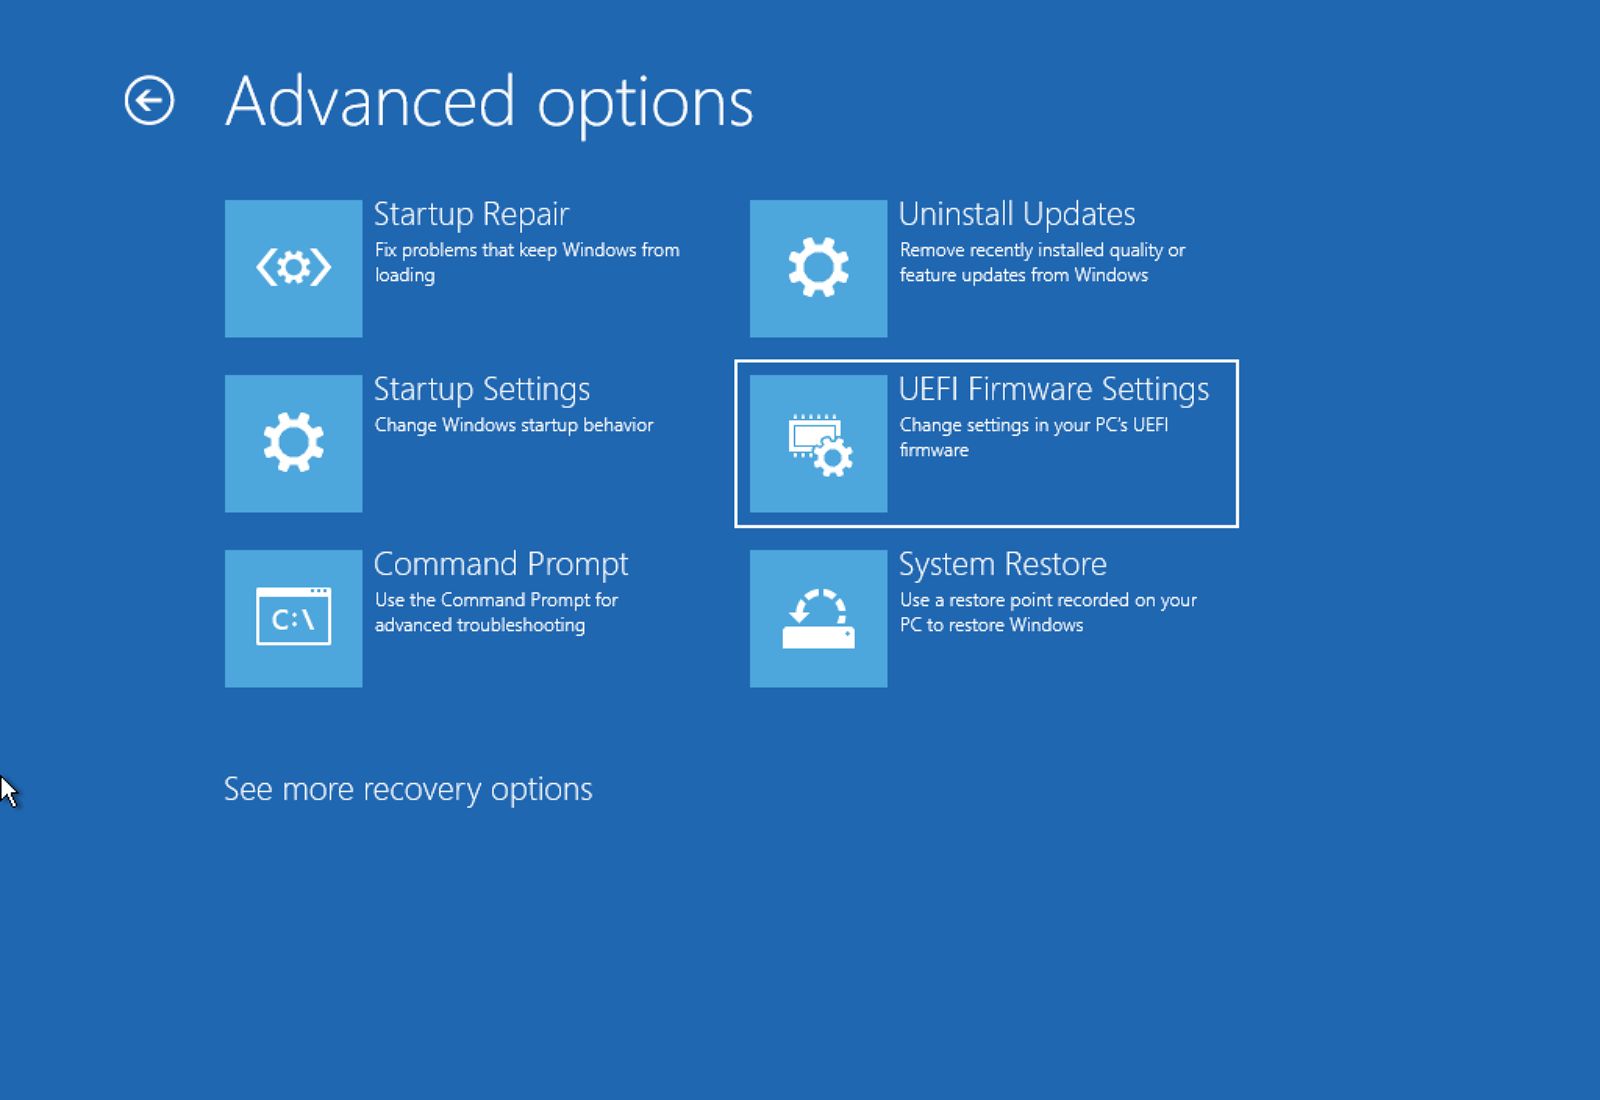
On “Advanced options,” click.
Select the option for UEFI Firmware Settings.

To restart, click the button.
Open the Advanced, Security, or Configuration page (the page name will vary depending on the manufacturer of your motherboard).
Choose between SVM Mode, Intel Virtual Technology, or Virtualization Technology (the feature name will also depend on the device manufacturer).
Turn on the motherboard’s virtualization feature.
Press the F10 key to save the UEFI (BIOS) settings.
You can now set up your choice hypervisor (like Microsoft Hyper-V) to run virtual machines on Windows 11 after the computer has enabled virtualization at the hardware level.
As an alternative, you can use Automatic Repair to enter the Windows Recovery Environment (WinRE).
Virtualization and Virtualization for Direct-IO (or VT-d) must often be enabled on a Dell system through the Advanced > Virtualization or Virtualization Support > Virtualization tab.
You have to choose the Virtualization Technology option after entering the Configuration tab on an HP machine. On certain HP systems, you must first select the Virtualization Technology (VTx) option after navigating to the System Security tab from the Security menu.
Since practically every model has a distinct method for turning on this feature, you should consult the device documentation if your desktop computer has a motherboard made by ASRock, Gigabyte, Asus, EVGA, or another manufacturer.
Enable virtualization inside UEFI (BIOS) from boot
Use these procedures to boot into the UEFI firmware on AMD or Intel motherboards in order to enable virtualization:
Activate the computer.
Verify the key used to boot up the firmware. (You have to act fast.)
To enter the UEFI, repeatedly press the recommended key. You usually have to hit ESC, Delete, or one of the Function keys (F1, F2, F10, F12, etc.).

Open the Advanced, Security, or Configuration page (the page name will vary depending on the manufacturer of your motherboard).
Choose between SVM Mode, Intel Virtual Technology, or Virtualization Technology (the feature name will also depend on the device manufacturer).
Turn on the motherboard’s virtualization feature.
Press the F10 key to save the UEFI (BIOS) settings.
The computer will activate the virtualization capability once you have finished the tasks.
It is noteworthy that UEFI is still frequently referred to as BIOS (Basic Input Output System). But UEFI took the place of BIOS, an outdated firmware type. This instruction primarily focuses on accessing the contemporary firmware type because Windows 11 only supports the UEFI firmware type.
It is not necessary to enable this technology in the firmware if you use VirtualBox. All you have to do is activate Windows 11’s Virtual Machine Platform functionality.
Update May 20, 2024: To guarantee accuracy and take into account modifications to the procedure, this guide has been revised.