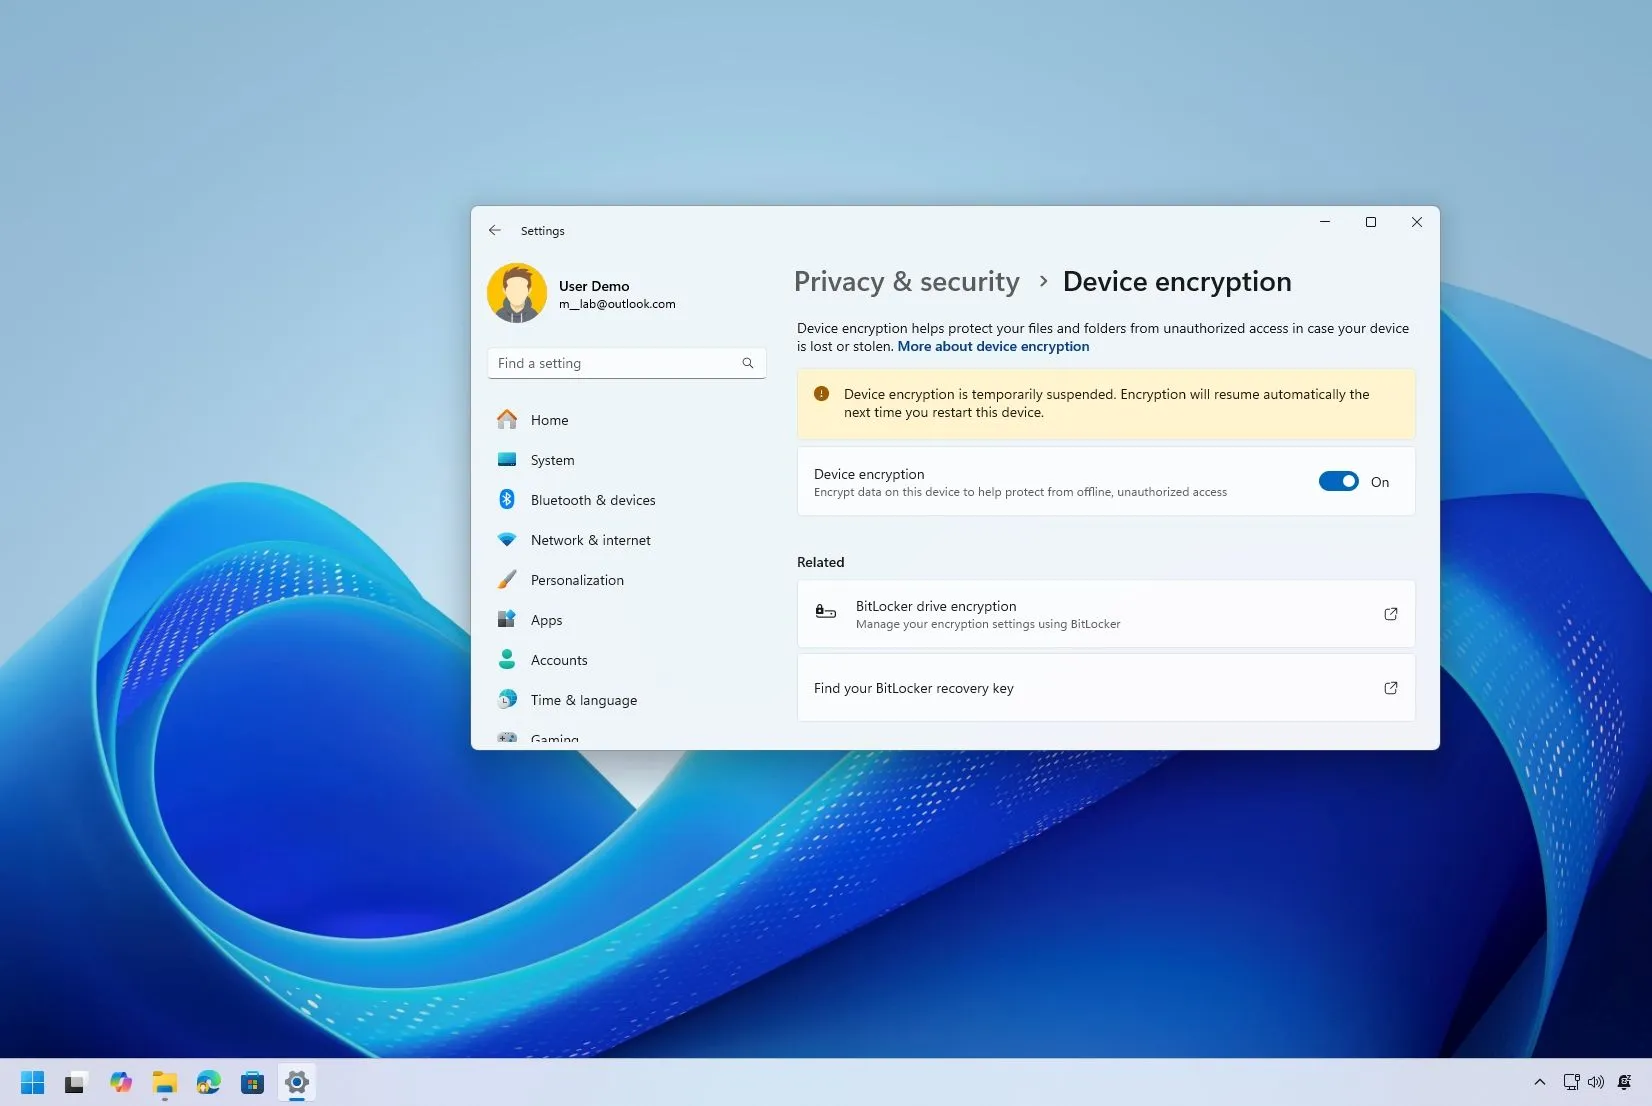
If you enable Device Encryption on Windows 11 (or 10), the system could become stuck with the message “Device encryption is temporarily suspended.” The next time you restart this device notice after restarting the computer, encryption will start up automatically.
In certain circumstances, encryption will continue automatically, although this is not always the case. There are a few troubleshooting actions you may take to restore encryption on your device if, even after multiple reboots, File Explorer still shows the drive locked and the Settings app continues to display the same message.
I’ll go over the many solutions in this article to resolve the problem that keeps encryption from functioning properly on both Windows 10 and Windows 11.
Fix device encryption temporarily suspended error on Windows
You can resolve encryption issues on Windows 11 (or 10) by using these four techniques.
Method 1: Wait and restart
It’s crucial to remember that, depending on the data contained on the drive, the encryption process may take some time if Device Encryption isn’t fully enabled and you’re simply turning it on. In certain cases, you might have to wait until the drive is completely encrypted.

Method 2: Remove physical media
Device encryption is temporarily suspended, according to the Device Encryption settings, if it has been a while. If you have a storage drive attached to your computer that is unable to use encryption, encryption will likely resume automatically the next time you restart this device notification. For instance, the encryption might not function at first if you have a CD, DVD, or Blu-Ray drive with physical media on it, or if you mount an ISO file to a virtual drive in File Explorer.
In this instance, make sure the media device is free of physical media (if relevant) and that the ISO has been unmounted from File Explorer. By selecting the Eject option when you right-click the disk in File Explorer, you can rapidly unmount or open the disc tray.

Restarting the computer should allow encryption to resume properly once you unmount the ISO file or take the actual media off the drive.
Method 3: Enable encryption command
Take the following actions if the problem persists:
LaunchStart.
Look up “Command Prompt,” then right-click on the first result and select “Run as administrator.”
Press Enter after typing the following command:

Restart the computer.
By going to Settings>Privacy & security>Device encryption, you can now verify that Windows 11 encryption is functioning properly. Go to Settings>Update & Security>Device Encryption on Windows 10.
Method 4: Clear TPM
The last resort is to clear your computer’s Trusted Platform Module (TPM) if the command doesn’t work. To start the device after removing this data from the chip, you will need to reset your BitLocker recovery key and login PIN. However, since you can enable encryption, you might not see this prompt.

Launch Start, type in “tpm.msc,” launch the TPM manager, select “Clear TPM,” and then select “Restart.” After restarting, launch Command Prompt (admin) and execute the Add-BitLockerKeyProtector -MountPoint “C:” -TpmProtector command to activate encryption. To verify that the feature is activated, execute the manage-bde -status command.
Device Encryption ought to be functioning correctly when you’ve finished the troubleshooting procedures.
BitLocker vs. Device Encryption
The primary distinction between BitLocker and Device Encryption is that BitLocker provides more administration options and is limited to Windows 11 Pro and higher editions.
Device Encryption is a restricted version of BitLocker that encrypts all data on Windows 11 Home computers. Version 24H2 of the Pro edition offers this feature.
Additionally, new installations will automatically enable encryption as part of the process starting with Windows 11 24H2. The functionality won’t be adjusted automatically if you’re upgrading your operating system and haven’t turned encryption on yet.
Which installation technique did you find most effective?Tell me in the comments section below.