-
To force install Recall AI on unsupported hardware, you must download the
Amaperage
tool and the
AI components
on
Windows 11 build 26100.712
, and then from Command Prompt (admin), run the
“amperage /install”
command.
UPDATED 6/19/2024:
Although Microsoft is making the Windows Recall AI feature exclusively available for Copilot+ PCs, it’s possible to install the AI feature on unsupported hardware running
Windows 11 24H2
, and in this guide, I’ll show you how.
When Recall was first introduced
, the company noted that the
minimum hardware requirements
included a Qualcomm Snapdragon X Elite with integrated NPU, 16GB of RAM, and 256GB of SSD. However, shortly after the announcement, an app known as “Amperage” was made available (via
@thebookisclosed
) that allows you to quickly install the Windows Recall AI feature on virtually any computer.
Currently, the app allows to set up Recall on devices with ARM64 processors (such as those from Qualcomm, Microsoft SQ, or Ampere). If you don’t have an ARM processor, it’s still possible to try the feature using a virtual machine to emulate an ARM installation of Windows 11.
Since the feature was recently integrated into the operating system, the device has to run on
Windows 11 build 26100.712
from the Release Preview Channel. You can download the ISO file for this particular build using
the UUP Dump script
. Furthermore, in addition to the Amperage app, you will also need to download the AI components to make it all work.
It’s important to note that Microsoft has temporarily removed the Windows Recall components from
build 26100.863 (KB5039239)
, so these instructions only work with build 26100.712. If you choose to try this feature, you have to install the older release of Windows 11. If you have a Copilot+ PC, you can enroll your computer in the Canary Channel. Then you can upgrade to
build 26236
, which includes an early preview of the AI feature without needing to install any additional packages or run custom scripts.
In this
guide
, I’ll outline the steps to access the Recall AI feature on Windows 11 24H2 using unsupported hardware.
Install Recall AI on unsupported hardware on Windows 11 24H2
To install Windows Recall on unsupported hardware on
Windows 11
(build 26100.712), use these steps:
Open the
Amperage
download page
.
Click the download button for the latest
Amperage_v2024.x.xx_arm64.zip
file and save it on your computer.

Right-click the Amperage zip file and choose the
Extract all
option.

Choose the folder location.
Click the
Extract
button.
Open the
Archive.org
website
.
Click the download link for the latest AI components for Windows 11 and save it on your computer.
Right-click the 7z file and choose the
Extract all
option.

Click the browse button.
Open the
WorkloadComponents
folder inside the folder where you extracted the Amperage files.
Click the
Extract
button.
Open
Start
.
Search for
Command Prompt
, right-click the top result, and choose the
Run as administrator
option.
Type the following command to browse to the folder where you extracted the Amperage files and press Enter:
In the command, update the path to the folder where you extracted the Amperage files.
Type the following command to install the Windows Recall on your computer and press
Enter
:

Restart the computer.
Sign in with your Microsoft account to access your account.
Check the
“Open Settings after setup completes so I can manage my Recall preferences”
option (if applicable).
Click the
Continue
button.
Turn on the
Save snapshots
toggle switch to enable Recall (if applicable) from the
“Recall & snapshots”
page.

Once you complete the steps, Windows Recall will be enabled on your computer and will start taking snapshots of everything you do on it.
If you change your mind, you can use these instructions to
disable Recall
, or you can uninstall the integration from Command Prompt (admin) and use the
amperage /uninstall
command from the folder location where you unzip the files.
If you don’t have a computer with an ARM processor, you may be able to set up an
emulated version of Windows 11 using the QEMU hypervisor
. However, it will require more steps, and the performance may not be the same. If you have another virtualization solution, such as
VMware Workstation Pro
, you can use QEMU alongside the other hypervisor.
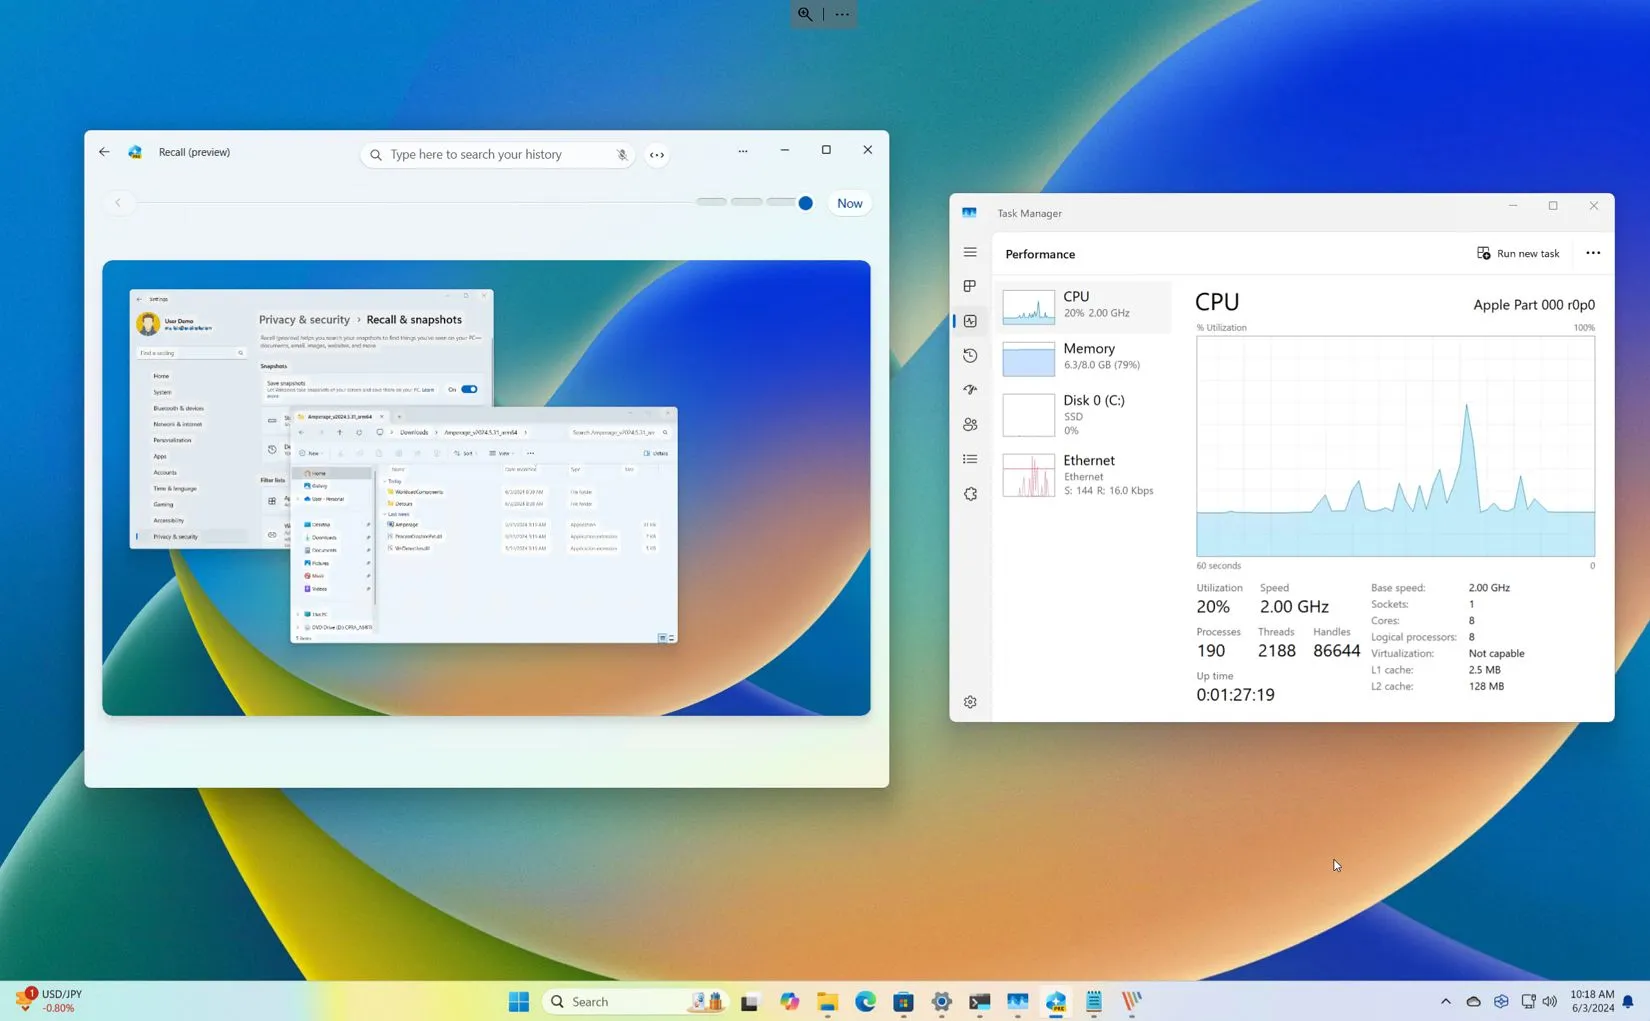
For these instructions, I used a virtual machine using VMware Fusion on macOS and allocated 8GB of RAM and 128GB of storage. This configuration shows that not only is an
NPU (Neural Processing Unit)
not completely necessary, but it’s also possible to run the feature with half of the required memory and storage. However, the recommended system requirements will improve performance and ensure stability.
Also, for this setup, I disabled Device Encryption because I wanted to check if the Recall feature worked without encryption, and I can confirm that this is the case.
Are you trying to force install Recall on your computer?
Let me know in the comments. If you have any questions, you can also leave them in the comments below.
Update June 19, 2024:
This page has been updated to ensure accuracy and include the latest information.