UPDATED 8/28/2024: The Logitech Flow function, which is included in the Logitech Options program for Windows 11, 10, and macOS, enables you to share your keyboard and mouse using a network without having to have several peripherals on your desk.
To utilize this feature, you must have a Logitech mouse or keyboard that is compatible and linked via Bluetooth or the Unifying USB receiver. MX Master 3, MX Master 2S, MX Ergo, MX Anywhere 2S, M585 Multi-Device Silent, Multi-Device M590, and M720 Triathlon are a few of the mice that are supported. Keyboards such as MX Keys, Craft, K780, K380, K375s, and MK850 are supported.
Since this is a Logitech product, if you don’t have a suitable peripheral, you’ll need to look for alternative uses.
This tutorial will show you how to configure the Logitech Flow feature so that other Windows 11 or 10 devices can share your mouse and keyboard.
Set up Logitech Flow to share mouse and keyboard on Windows 11
You must install the Logitech Options app on both computers and ensure that they are on the same network before attempting to set up Flow.
1. Install the Logitech Options app
Follow these steps to install the Logitech Options app on Windows 11:
Go to the download page for Logitech Options.
Save the file to your PC by clicking the “Download for Windows 10 or later” button.
To start the Logitech Options setup, double-click the installer.
To install Logitech Options, click the button.

(Optional) To stop exchanging data with Logitech, click the “No thanks” option.
To bypass the login (if applicable), click the Close button in the upper-right corner.
To pair the keyboard or mouse, click the “Add devices” option.

Choose whether to add a keyboard or mouse. The Bluetooth & other devices settings page, for instance, is accessed by selecting the Bluetooth option. Additionally, you can couple the peripherals with the unified receiver.
To add a device, click the button.

Go with the Bluetooth setting.

Turn the device on and hit the mouse or keyboard’s pair button.
On the screen, pick the Logitech keyboard or mouse.
Press the “Done” button.
After you’ve finished, follow the same procedures on the other device you wish to share the peripherals with.
2. Configure Logitech Flow
Make sure the computers are turned on and linked to the same network before using these procedures to configure Flow:
Options for OpenLogitech.
To configure the peripheral (if applicable), follow the on-screen instructions.
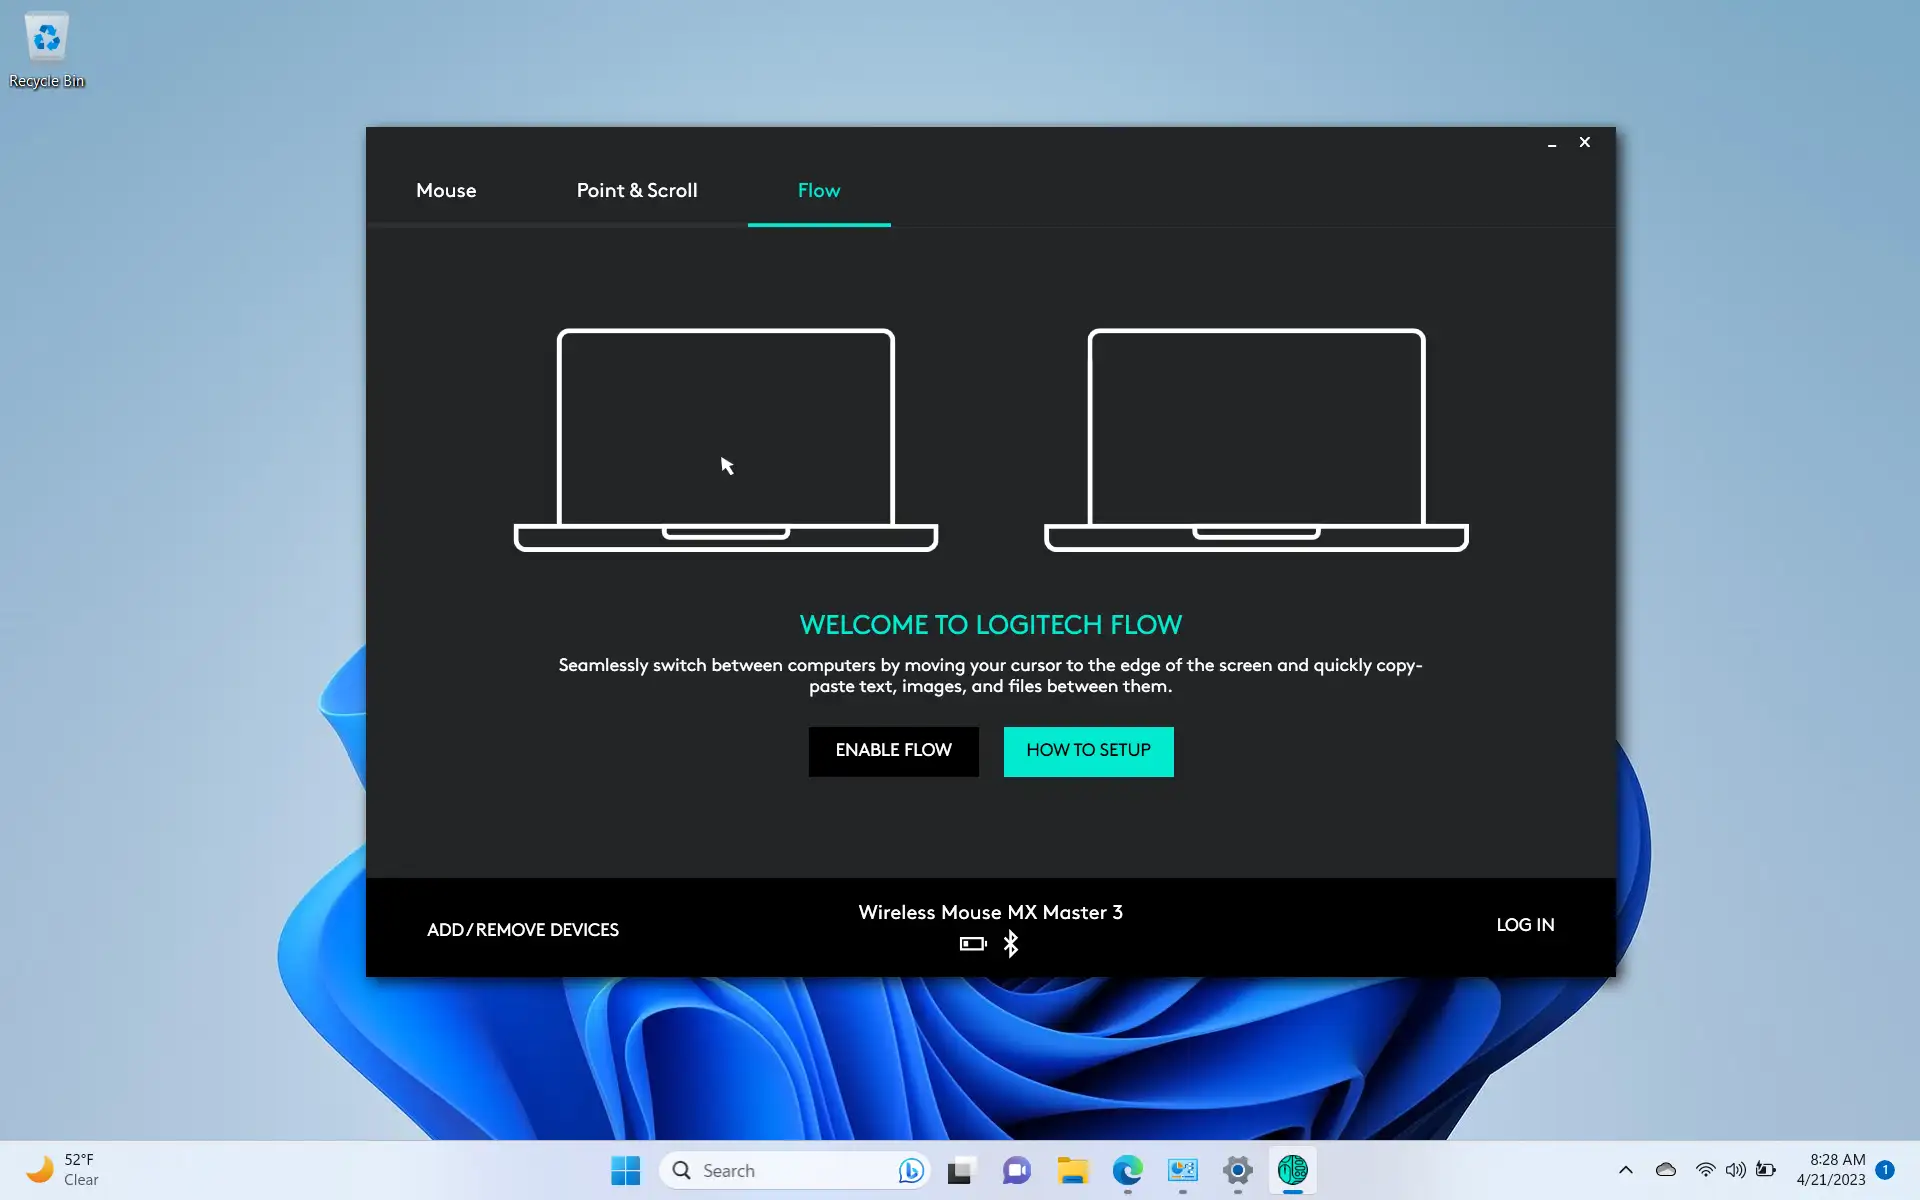
Select the Flowtab.
Press the button labeled “Enable Flow.”

On the “Continue” button, click.
Following your completion of the steps, the software will automatically complete the setup by searching for and locating the other device on the network. It’s that easy. After that, you can begin utilizing the computer peripherals.
You may now adjust the experience by using the settings in the Flowtab. You can alter how the mouse is moved between computers, though most users should be able to use the default settings. For instance, you can program it to switch between devices when you move the mouse pointer to the screen’s edge or click the Ctrlkey while doing so.
Screen edges can be turned on or off, and copy and paste between devices can be turned on or off.
You will also notice additional settings if you are attaching a keyboard.
Each connected device is represented as a square on the right, and you can set up another computer by clicking the Plus button. Additionally, you can slide each gadget to correspond with its actual placement.
Update August 28, 2024: To guarantee accuracy and take into account modifications to the procedure, this guide has been revised.