UPDATED 9/13/2024: PowerShell 7.4.5, the next version of the command-line shell and scripting language for Windows 11, is created for sophisticated users to modify system settings and automate operations.
The most recent version, which is based on.NET 7 and has an 18-month Long Term Support (LTS) cycle, has been accessible since November 9, 2022. The current LTS (3-year supported) release cycle for PowerShell is still 7.2. Along with other updates, this release also offers improvements for session and remoting, error handling, tab completion, and updated cmdlets.
Because PowerShell is a cross-platform program, you may download and install the latest version on Ubuntu, Debian, CentOS, Fedora, Alpine for Linux, Windows Server (2012 R2 and later), Windows 11, 10, 8.1, and macOS. ARM-based devices, such as Windows, Ubuntu, Debian, and Alpine, can also use the program.
This tutorial will show you how to install PowerShell 7.4.5 using the Windows Package Manager (winget) command-line tool, the Microsoft Store, and the manual installer.
-
Install PowerShell 7.4.5 on Windows 11
-
Install PowerShell 7.4.5 from Microsoft Store
-
Install PowerShell 7.4.5 from winget command
Install PowerShell 7.4.5 on Windows 11
Follow these steps to install PowerShell 7.4.5 on Windows 11:
GitHub has OpenPowerShell 7.4.5.
To access the PowerShell-7.4.5.0-win-x64.msi, click the Assets section.

On the device, save the file.
To start the installer, double-click the downloaded file.
Press the “Next” button.
(Selective) Choose the installation folder.
Press the “Next” button.
(Selective) Verify the Explorer option to add the “Open here” context menu.
(Selective) For the PowerShell files option, look at the Add Run with PowerShell 7 context menu.

Press the “Next” button.
Verify the option to enable PowerShell updates via WSUS or Microsoft Update.
When I check for updates, make sure to select the Use Microsoft Update option.

Press the “Next” button.
On the Install button, click.
Press the “Finish.” button.
The computer will install the updated version of PowerShell after you finish the steps. It will be accessible from the Start menu, desktop, and File Explorer right-click context menu following installation.
Install PowerShell 7.4.5 from Microsoft Store
Use these procedures to install PowerShell 7.4.5 from the Microsoft Store:
Open the Microsoft Store online.
Click the PowerShell 7.4.5 “Get in Store” app button.
Press the “Open” button.
From the Microsoft Store, click the Install button.

To begin using PowerShell, follow the instructions and either click the Launch button or open the application from the Start menu.
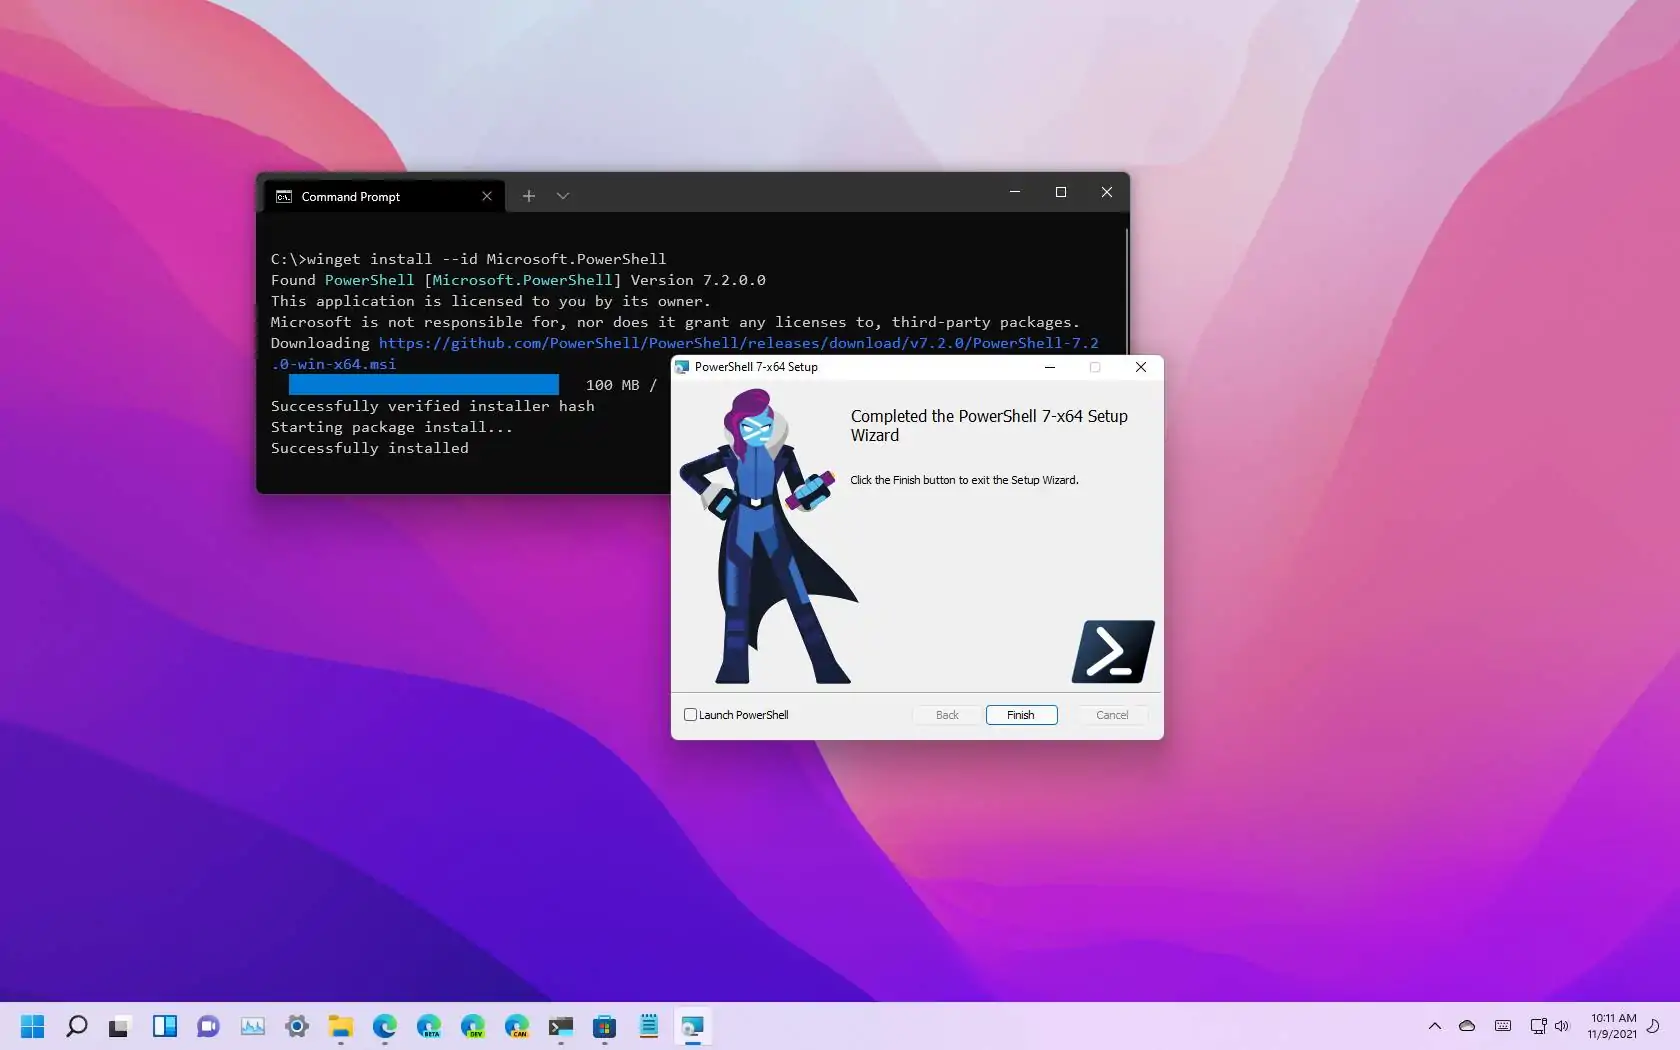
Install PowerShell 7.4.5 from winget command
Use these procedures to swiftly install PowerShell 7.4.5 using the winget command:
LaunchStart.
Look up “Command Prompt,” then right-click on the first result and choose “Run as administrator.”
To install PowerShell 7.4.5 on Windows 11 with Winget, type the following command and hit Enter:

The most recent version of PowerShell will be downloaded and installed on your computer by the Windows Package Manager after you finish the procedures.
Although these instructions are geared toward Windows 11, they should also work for Windows 10 users who want to install the latest version of PowerShell. Visit this Microsoft documentation website to find out more about PowerShell.
Update September 13, 2024: To guarantee accuracy and take into account modifications to the procedure, this guide has been revised.